
Creating this blog with Jekyll and Github Pages
Every blog needs a first post. Here’s the quick set up for a blog (with search). All thanks go to Jekyll and minimal mistakes!
Step 1: Archive your previous resume website hosted with github pages
Take a full screen screenshot of the web page in Firefox Ctrl + Shift + s. To show the website.
Change the name of the repository to 2018-jekyll-resume to free up the named space as {username}.github.io.
Push a commit to update the README with the screenshot, a short description of its features, and the fact it is an archive.
Then mark the it as archived.
Settings -> Danger Zone -> Archive this repository.
Step 2: Setup a local Jekyll development instance.
Github pages and indeed the template we are following are based on Jekyll.
Install Jekyll on Linux
My daily driving operating system is Linux Mint 20.3 Cinnamon which is based on Ubuntu 20.04.5 LTS . So we can follow the installation documentation found here .
But long story short…
# Install some dependencies
sudo apt-get install ruby-full build-essential zlib1g-dev
#Fresh linux mint 20.3 doesn't have git
sudo apt install git
# Add stuff to our users .bashrc file to store gems in our home folder
echo '# Install Ruby Gems to ~/gems' >> ~/.bashrc
echo 'export GEM_HOME="$HOME/gems"' >> ~/.bashrc
echo 'export PATH="$HOME/gems/bin:$PATH"' >> ~/.bashrc

# Reactivate the file in our local terminal session
source ~/.bashrc

# Install jekyll
gem install jekyll bundler
Setup local git development in your local machine
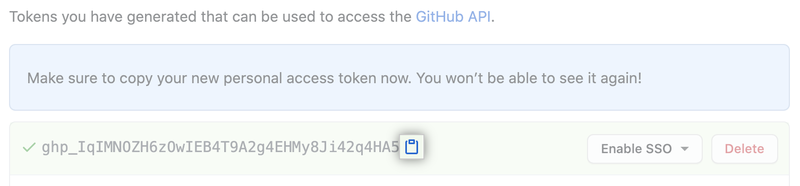
Get a personal authentication token
Now we need to be able to actually make changes and push code to our repository. Github banned password authentication in August 2021, so we must create a personal access token. Follow the instructions from github about that here.
Note that you will need to give it repo status access.
Copy the token NOW as you won’t get another chance.
Step 3: Take the Jekyll template to replicate.
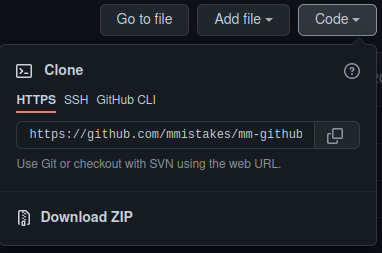
With many thanks to mmistakes we can use the customisable theme Minimal Mistakes and the Github pages starter site he has provided.
Download the repository at mm-github-pages-starter by clicking Code -> Download as Zip as seen in the picture.
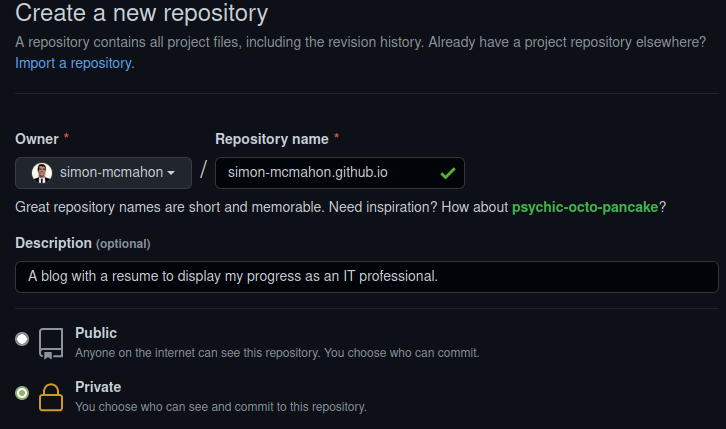
Make a new github pages repository
Ensure to call this repository {username}.github.io. Make sure to set it to private for now so we don’t advertise a shabby looking website.
Setup the local git repo
Firstly, extract the zip file you downloaded to simple-blog-bootstrap-main. But to keep things simple for us, I am going to rename this to our repo’s name.
mv ./mm-github-pages-starter-master ./simon-mcmahon.github.io
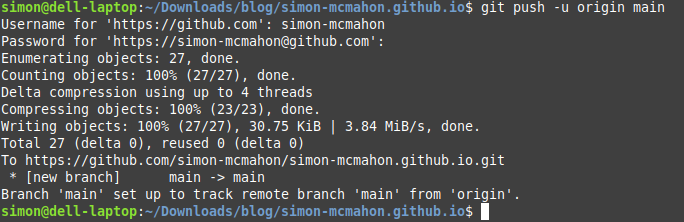
Then, initialise the git repo. And push an initial commit to github. This is where you will be asked to enter in your personal access token. Inside the folder, do:
git init
git add .
git commit -m "initial commit"
git remote add origin https://github.com/simon-mcmahon/simon-mcmahon.github.io.git
git branch -M main
git push -u origin main
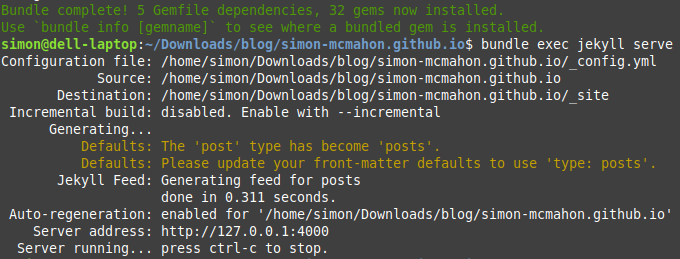
Emulate the site locally
Next we build the gem packages and serve the site locally
bundle install
# Add --baseurl to emulate relative urls as in github pages
bundle exec jekyll serve --baseurl=""
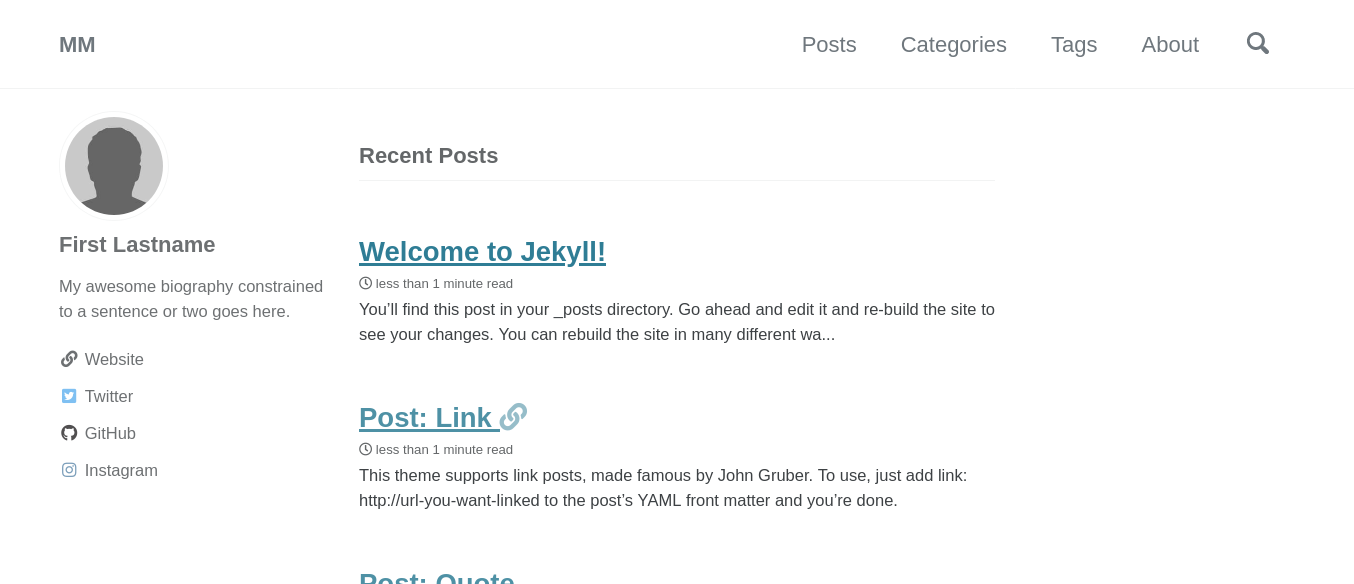
Then go to localhost:4000 to see your website.
And you should see the default site layout.
Step 4: Customising the _config.yml file
Since we are using a starting template, not all options are present in our _config.yml file. Go to the theme repo _config.yml to find out all the options.
To start off with, the documentation recommends adding the version number to the remote theme plugin.
# Add version number to this line
remote_theme: "mmistakes/minimal-mistakes@4.24.0"

# Add this line for dark skin
minimal_mistakes_skin: "dark" # "air", "aqua", "contrast", "dark", "dirt", "neon", "mint", "plum", "sunrise"
Next add a file called CNAME with the contents {your website url}.com for github pages if you have a domain.
You will have to add a CNAME record with your DNS provider manually. I leave that as an exercise for the reader.
Finally, edit all the other personal details. Add your picture, a favicon in the root directory and commit and push your changes.
WELL DONE: Now we have our very own blog!